Theme Description | Theme Demo
Theme InstallationBack to top
You can choose from the following 2 ways to install the theme.
1. Install from the dashboardBack to top
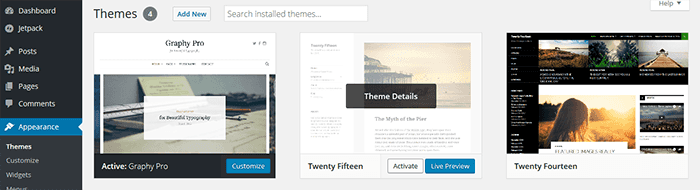
In the dashboard, go to Appearance -> Themes and click the “Add New” button.

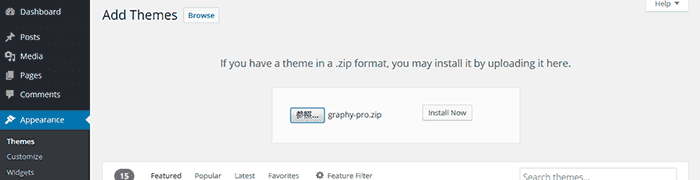
Click the “Upload Theme” button.

Choose “graphy.zip/graphy-pro.zip” file and click “Install Now” button. (If you have “Graphy_Pro_-_WordPress_Theme.zip”, please unzip the file and upload “graphy-pro.zip”)
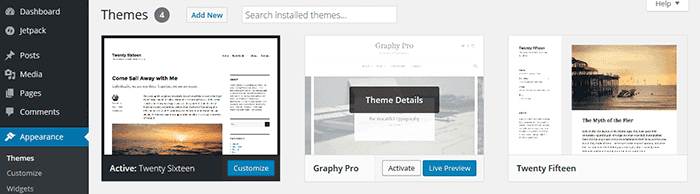
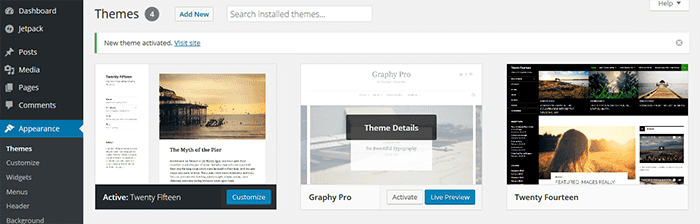
Click the “Activate” button.

This completes the installation.
2. Install from FTPBack to top
Extract the “graphy.zip/graphy-pro.zip” file, then prepare the “graphy/graphy-pro” folder.
Transfer the “graphy/graphy-pro” folder via FTP to the “…/wp-content/themes/” directory
In the dashboard, go to Appearance -> Themes and click the “Activate” button.
This completes the installation.
Plugins Installation ProBack to top
After you install the theme, a notification will be displayed regarding installing recommended plugins.

- Jetpack is a plugin that adds various additional features to WordPress. Please install it if you want to use the “Related Posts (You might also like)” feature located beneath individual posts. Graphy also supports Infinite Scroll.
- Smash Balloon Social Photo Feed is a plugin that adds a feature of displaying Instagram posts. Please install it if you want to use the “Instagram Widget” feature at the bottom of the pages.
To install the recommended plugins, click “Begin installing plugins”.

Click the checkboxes on the plugins to install, select “Install”, then click “Apply” button.

Wait until the plugin install process is complete. Once the install process is complete, click “Return to Required Plugins Installer”.

Click the checkboxes on the plugins to activate, select “Activate”, and then click “Apply” button.

This completes the plugins installation.
Jetpack Plugin SetupBack to top
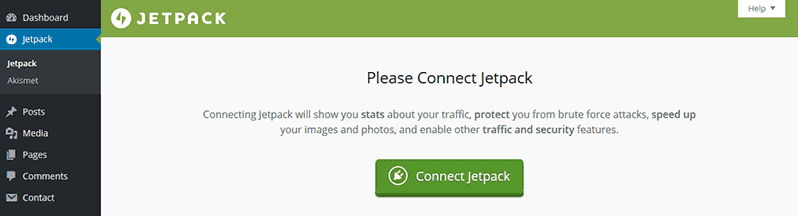
From the dashboard’s Jetpack page, click “Connect Jetpack”.
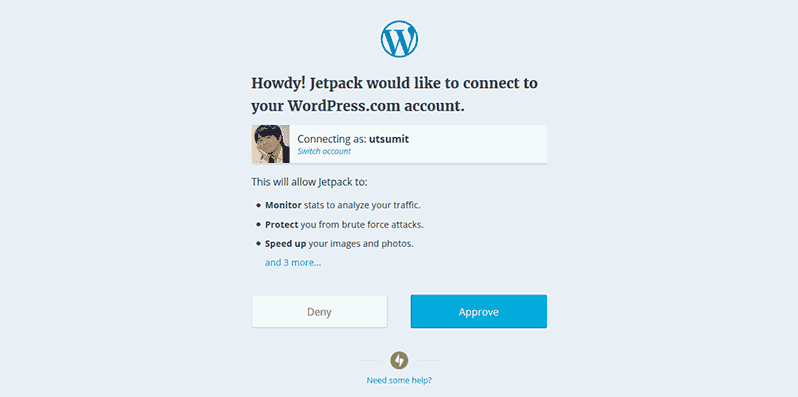
When you are taken to the Jetpack page, click “Approve”.
Return to the Jetpack page of the dashboard and click “Jump Start”. You can also click “skip” and activate features manually.
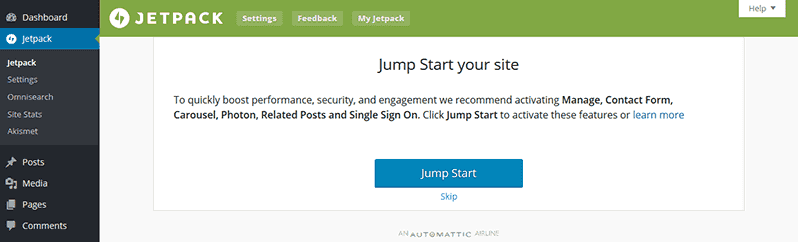
This completes the Jetpack plugin setup.
Smash Balloon Social Photo Feed Plugin SetupBack to top
From the dashboard’s Instagram Feed page, click the big button “Connect an Instagram Account”.

Approve the connection on Instagram website. When you return to the the dashboard, setup is complete.

Please see Instagram Widget for how to set the widget.
CustomizationBack to top
The Graphy theme offers the following customization options.
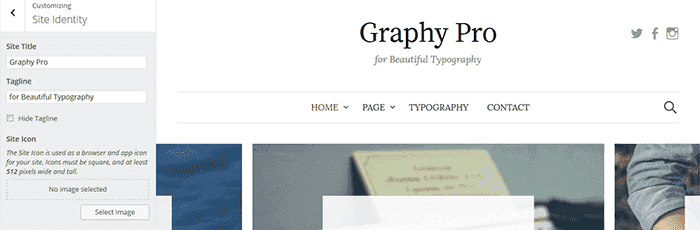
Site IdentityBack to top
From Customize > Site Identity you can set the site title and tagline. You can also hide the tagline.
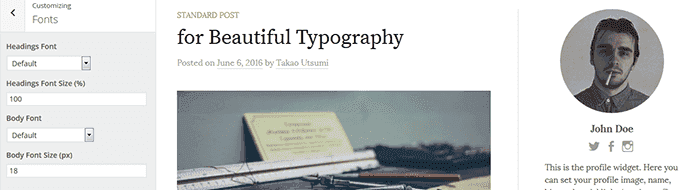
Fonts ProBack to top
From Customize > Fonts you can set the header and body text to a variety of fonts.
ColorsBack to top
From Customize > Colors you can set link colors.

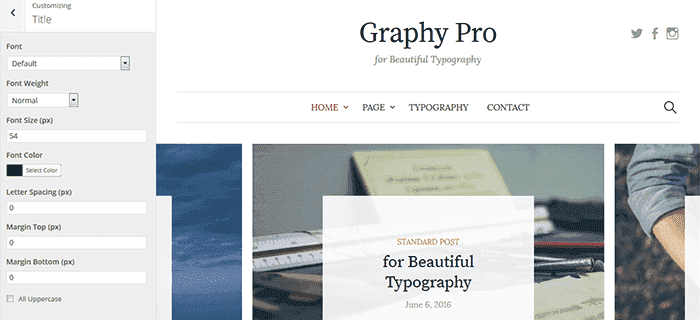
Title ProBack to top
From Customize > Title you can set the title font.
LogoBack to top
From Customize > Logo you can set the logo.
![]()
Header Social LinksBack to top
From Appearance > Menus or Customize > Menus you can configure the menus.
No text is displayed, only icons. If this is unset, the icons will not appear.

Main NavigationBack to top
From Appearance > Menus or Customize > Menus you can configure the menus.
The page list appears by default if you do not set this.

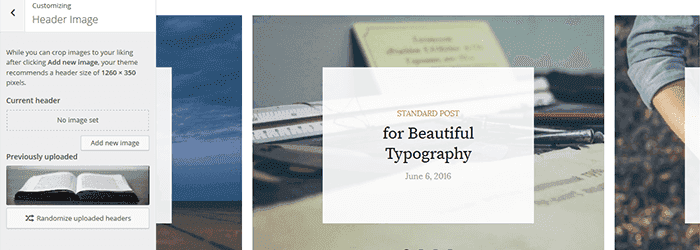
Header ImageBack to top
From Customize > Header Image you can set the header image.
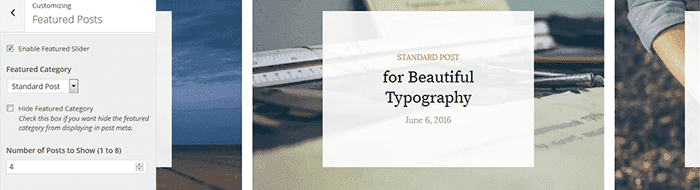
Featured Posts ProBack to top
From Customize > Featured Posts you can set the posts that will be featured on the homepage slider as well as in the Graphy Featured Posts widget.
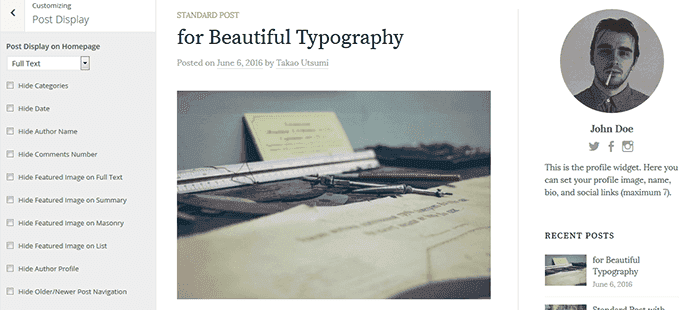
Post Display ProBack to top
From Customize > Post Display you can set how posts are displayed on the blog posts index page. You can also hide elements such as categories, date, author name, comments number, featured image, author profile, and post navigation.
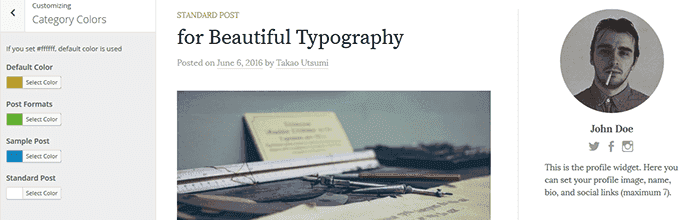
Category Colors ProBack to top
From Customize > Category Colors you can set the colors for various categories.
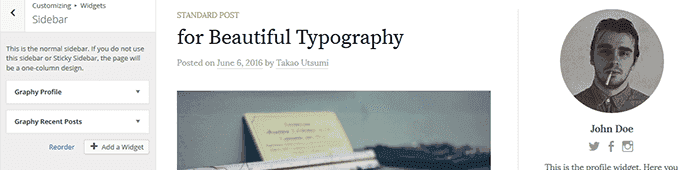
SidebarBack to top
From Appearance > Widgets or Customize > Widgets you can configure widgets.
This is the normal sidebar. If you do not use this sidebar or Sticky Sidebar, the page will be a one-column design.
Sticky Sidebar ProBack to top
From Appearance > Widgets or Customize > Widgets you can configure widgets.
Displays while following the PC’s scrolling.

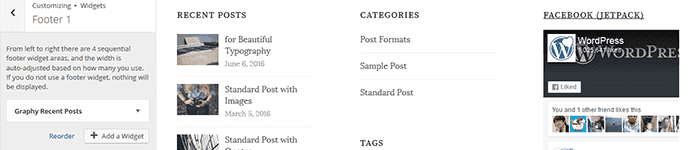
Footer 1 to Footer 4Back to top
From Appearance > Widgets or Customize > Widgets you can configure widgets.
From left to right there are 4 sequential footer widget areas, and the width is auto-adjusted based on how many you use. If you do not use a footer widget, nothing will be displayed.
Instagram Widget ProBack to top
From Appearance > Widgets or Customize > Widgets you can configure the Instagram widget.
Please install and set the Smash Balloon Social Photo Feed plugin.
See also: Setting up the Free Instagram Feed WordPress Plugin
At that time, Number of Posts and Columns should be set to “6”.

Click Embed in the upper right corner and add the displayed shortcode to the Instagram Widget area.

Footer Social Links ProBack to top
From Appearance > Menus or Customize > Menus you can configure the menus.
No text is displayed, only icons. If this is unset, the icons will not appear.

Footer Menu ProBack to top
From Appearance > Menus or Customize > Menus you can configure the menus.
If unset, it will not appear.

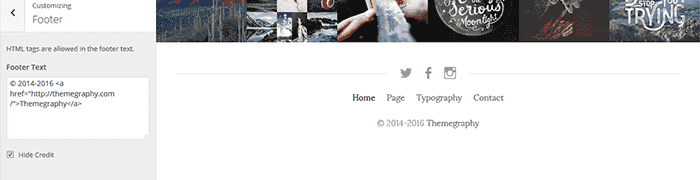
Footer ProBack to top
From Customize > Footer you can set the footer text and hide the theme credits from here.
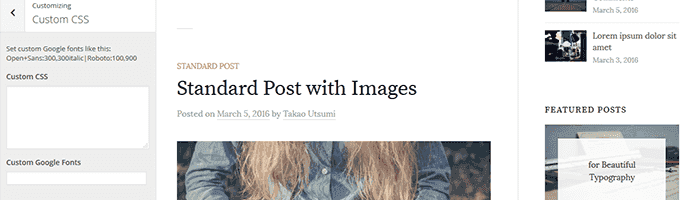
Custom CSS ProBack to top
From Customize > Custom CSS you can set custom CSS or Google Fonts.
Custom WidgetsBack to top
The Graphy Theme comes with the following 3 custom widgets.
- Graphy Profile: Displays a profile with a photo and social media links.
- Graphy Recent Posts: Displays recent posts with featured images.
- Graphy Featured Posts Pro: Displays the posts set in the Featured Category.
Create a MenuBack to top
In the dashboard, go to Appearance -> Menus and click “create a new menu”.

Enter the name of the menu and click the “Create Menu” button.

Select the pages you wish to add to the menu and then click the “Add to Menu” button. You can add links and categories. You can also change the item order by dragging.
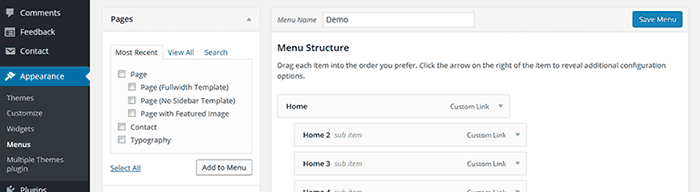
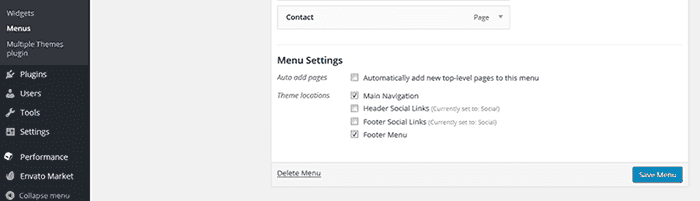
Once you have determined the menu’s item/item order, Choose where you want the menu to be displayed from Theme locations and click the “Save Menu” button.
With this the menu creation is complete. Click “create a new menu” again if you want to make another menu.
CodePen, Digg, Dribbble, Dropbox, Facebook, Flickr, Google+, GitHub, Instagram, LinkedIn, Pinterest, Polldaddy, Pocket, reddit, Skype, StumbleUpon, Tumblr, Twitter, Vimeo, WordPress, YouTube
PostsBack to top
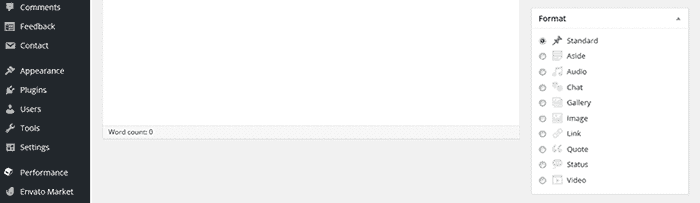
You can select post format from Format on an individual post screen. Supported formats are: Standard/Aside/Audio/Chat/Gallery/Image/Link/Quote/Status/Video.
Please refer to the post format category live demo to see what it looks like. In addition you are not constrained by the post format, and can posts images and videos in the standard format.
You can also set a featured image from the Featured Image box.

Related Posts (You might also like) SetupBack to top
After you install Jetpack, go to Jetpack→Settings and activate Related Posts.

Under Settings→Reading the Related posts section will be added, and from here you can configure how you want it to display.

PagesBack to top
You can set a page template by choosing the Template attribute in the Page Attributes box on an individual page. Page templates available are Default Template, No Sidebar, Full Width.
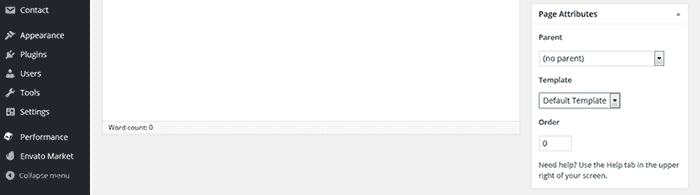
You can also set a featured image from the Featured Image box.

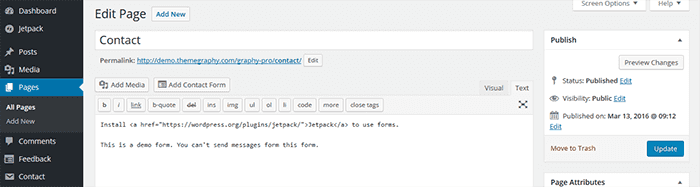
Create a Contact PageBack to top
After you install Jetpack, go to Jetpack→Settings and activate Contact Form.

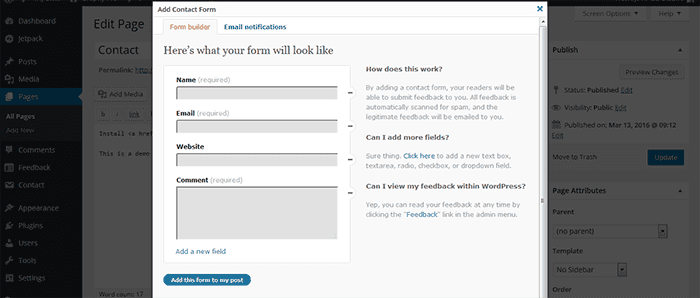
Click “Add Contact Form” button on the page editor.
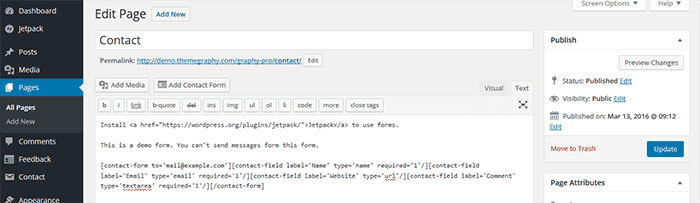
Configure the form, then click “Add this form to my post” button.
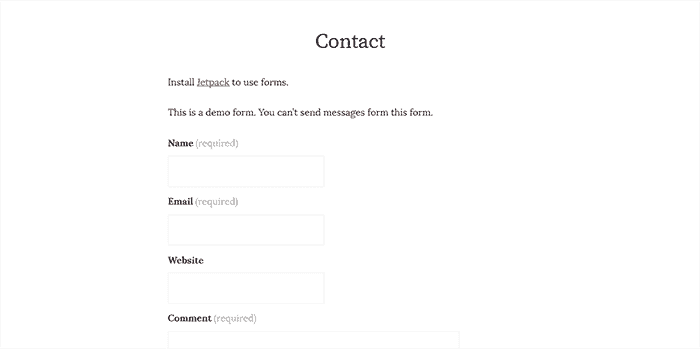
Confirm that the code has been appended.
When you look at the preview or publish the page, the form will be displayed.
UpdatesBack to top
You can choose from the following 3 ways to update the theme.
1. Auto updateBack to top
When an update for the theme is available, you will be notified and can download it from the Dashboard -> Updates or Appearance.
In Dashboard -> Updates select the Graphy theme and click the “Update Themes” button.

This completes the update.
2. Update from the dashboardBack to top
In order to update from the dashboard, you will need to delete the old theme once and reinstall the theme. Theme settings are inherited.
Prepare the new “graphy.zip/graphy-pro.zip” file.
In the dashboard, go to Appearance -> Themes and activate another theme.
Click Graphy’s “Theme Details”.
Click the “Delete” button.

Once the old theme is deleted click the “Add New” button.
Click the “Upload Theme” button.
Choose “graphy.zip/graphy-pro.zip” file and click “Install Now” button.
Click the “Activate” button.
This completes the update.
3. Update from FTPBack to top
In order to update via FTP, you will need to delete the old theme once and reinstall the theme. Theme settings are inherited.
Extract the new “graphy.zip/graphy-pro.zip” file, then prepare the “graphy/graphy-pro” folder.
Delete “…/wp-content/themes/graphy/” or “…/wp-content/themes/graphy-pro/” folder via FTP, and transfer the “graphy/graphy-pro” folder to the “…/wp-content/themes/” directory.
This completes the update.